The parking brake light is linked to a vehicle’s brake mechanism. It collaborates with various sensors to assess brake fluid pressure, quantity, and the status of the parking brake. While it typically illuminates due to fluid leakage or low pressure, it sometimes persists for no apparent reason.
Resetting the parking brake light typically involves steps that help recalibrate the system and clear any error codes or false indications. They include turning the ignition on, engaging and disengaging the parking brake lever/pedal, and following specific instructions in the owner’s manual.
Here is a more comprehensive rundown of how to reset the parking brake light, as briefly summarized above:
- Park on a level surface and turn the engine off.
- Locate the parking brake lever or pedal.
- Inspect the handbrake.
- Check brake fluid levels.
- Scan for trouble codes.
- Begin the reset process.
- Verify the reset.
Given its vulnerability to potential failure, the parking brake light demands swift attention when faced with issues (much like any other electrical component in your vehicle). So if you want uninterrupted braking functionality and peace of mind on the road, prompt resolution of any problem associated with the parking brake light becomes paramount.

The Parking Brake Light and Its Significance
Before we get to the gist of this guide, it is important to differentiate the parking brake light from two other light indicators that it usually gets mixed up with. And you are right if you have guessed the brake and parking lights.
Not all vehicles have all three. But for those that do, it helps to know that you are working with the correct warning indicator and not mistaking an illuminated light for a malfunction.
Parking Brake Light vs. Brake Light vs. Parking Light
The parking brake light, also called the brake warning or handbrake light, signifies the status of the parking brake system. When engaged, the light illuminates to indicate an active parking brake. Conversely, the same light disappears after the parking brake is released. In some vehicles, however, this light will turn red when the parking brake is engaged and green when it is released.
The brake light (a.k.a. the brake warning or brake system light) relates to the vehicle’s overall braking system. As a warning indicator, its illumination indicates potential issues like low fluid, faulty components, or a possible system failure. Although not specific to the handbrake, it is crucial for any driver to promptly address what triggers the brake light (if not, seek professional inspection or repair of the brakes).
The parking light (a.k.a. parking lamp or position light) is not exactly a warning indicator but a part of a vehicle’s lighting assembly. This lighting feature is primarily used to improve the visibility of a parked car. Its low-intensity light (typically amber or white) is strategically placed at the front and rear of a vehicle and intended to provide minimal illumination, especially during nighttime parking or in low-light conditions.
Parking Brake Light Stays On — Causes
- Partially engaged parking brake
- Defective parking brake switch
- Low brake fluid
- Brake fluid leak
- Worn brake pads or shoes
- Damaged or misadjusted parking brake cable
- Problematic parking brake hydraulics
- Malfunctioning Anti-lock Brake System
For Vehicles with Electronic Parking Brakes
(Note that these items are in addition to the ones above)
- Faulty parking brake actuator
- Brake system fault, such as a malfunctioning brake sensor or control module
- Low voltage or battery issues
- Malfunctioning brake switch or sensor
- System calibration or programming issue
How to Reset Parking Brake Light
1. Park on a level surface and turn the engine off.
Find a safe and level spot to park your car while ensuring the engine is turned off, and the parking brake disengaged. The transmission should also be in “PARK” or “NEUTRAL.”
2. Locate the parking brake lever or pedal.
Next, identify the location of the parking brake lever or pedal in your rig. Usually, it is near the center console or beside the driver’s seat. It is strongly advised that you familiarize yourself with its position before proceeding to the next step.
3. Inspect the handbrake.
Rule out physical issues by thoroughly inspecting the brake lever or pedal for any signs of damage or misalignment. In doing so, you can identify if there is a faulty connection, physical issues with the handbrake, or a flaw that prevents the parking brake from completely disengaging and keeping it illuminated.
If you notice a loose or stuck lever (among others), address them accordingly or consult a professional mechanic if you are uncomfortable doing this yourself.
4. Check brake fluid levels.
Some vehicle owners prioritize checking their brake fluid level whenever the parking brake light gets stuck. Meanwhile, others do exactly as the steps detailed in this guide. Either way works since low brake fluid levels have been proven to trigger the parking brake light to stay on and should be inspected anyway.
Locate the brake fluid reservoir (typically under the hood near the windshield), carefully remove its cap, and check the fluid level through the translucent container. The level should be between the minimum and “full” or maximum marks. Anything below the minimum level line requires topping the brake fluid reservoir back to spec with an OEM-recommended variant.
I suggest waiting a few minutes with the engine running before starting your vehicle to see if there is any brake fluid leak. Remember to clean the top of the brake fluid reservoir before replacing the cap to ensure no dirt or debris gets into the reservoir and contaminates the brake fluid.
5. Scan for trouble codes.
Sometimes, an illuminated parking brake light may be accompanied by fault codes stored in the vehicle’s onboard computer system. These codes help identify the source of a problem or malfunction in various vehicle systems — not just the handbrake.
Hence, I recommend connecting a diagnostic scanner like Autel MaxiIM IM508 PRO (view on Amazon) to your car’s OBD-II port. This way, you can retrieve any stored trouble codes pertaining to the parking brake system (if there are any) and resolve them.
Common fault codes related to the said system may include the following:
- P0571: Cruise Control/Brake Switch A Circuit Malfunction
- C0049: Brake Fluid Level Too Low
- C1234: Left Rear Wheel Speed Circuit Open or Shorted
6. Begin the reset process.
If you have already addressed issues with fluid levels, DTCs, and the physical state of the parking brake lever or pedal (but the light continues to stay on), reset the handbrake by following the below steps:
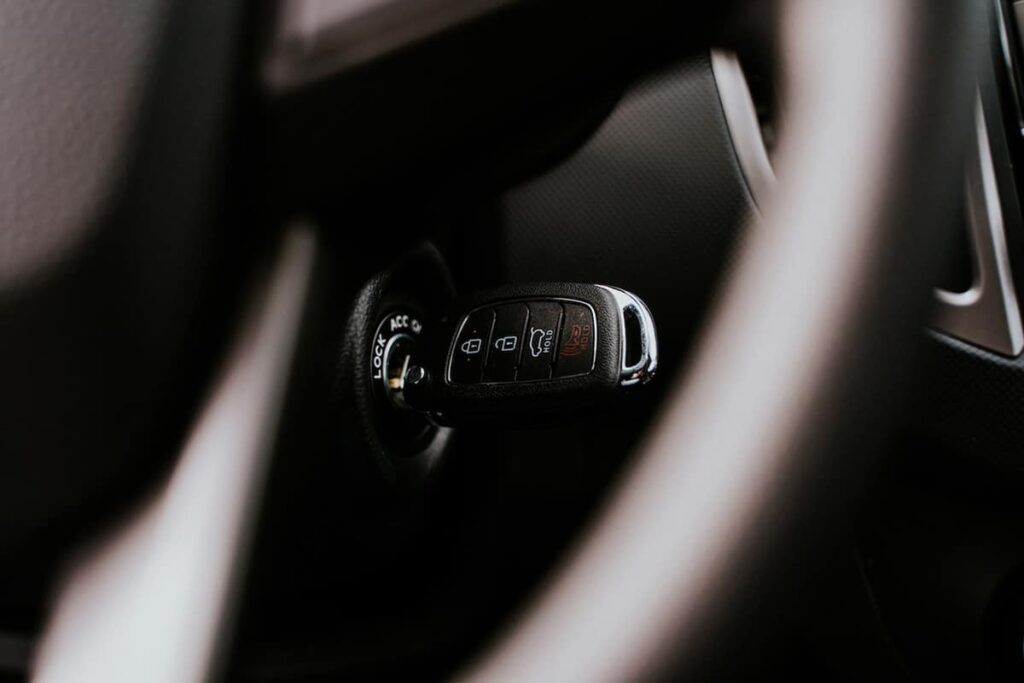
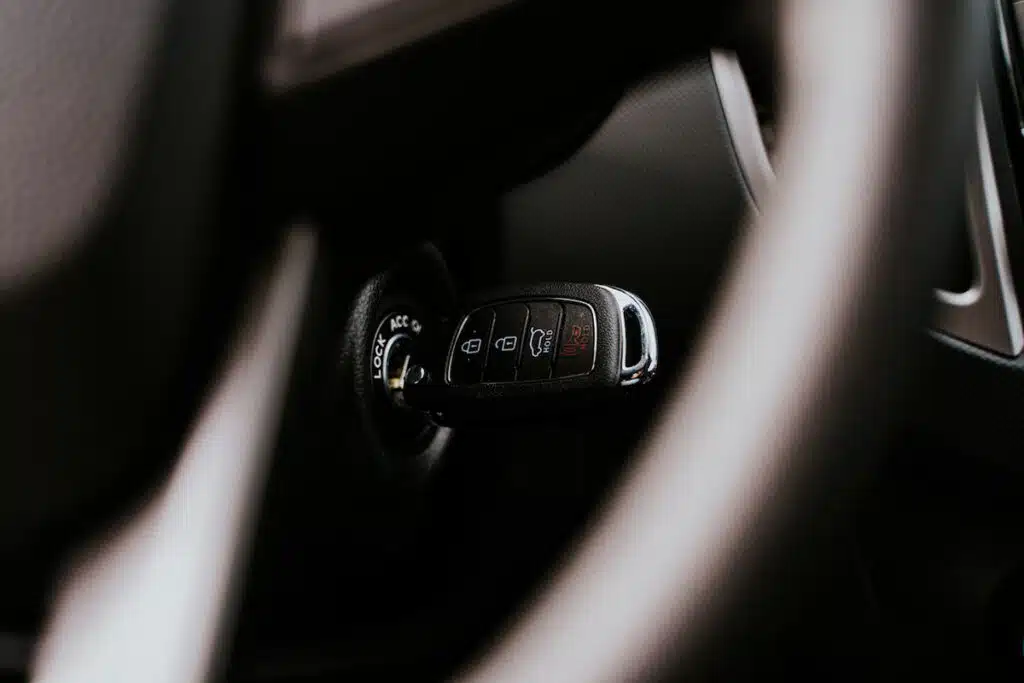
- Turn the ignition on without starting the engine. Alternatively, press the “START” button twice without touching the brake pedal for vehicles with a push-button start.
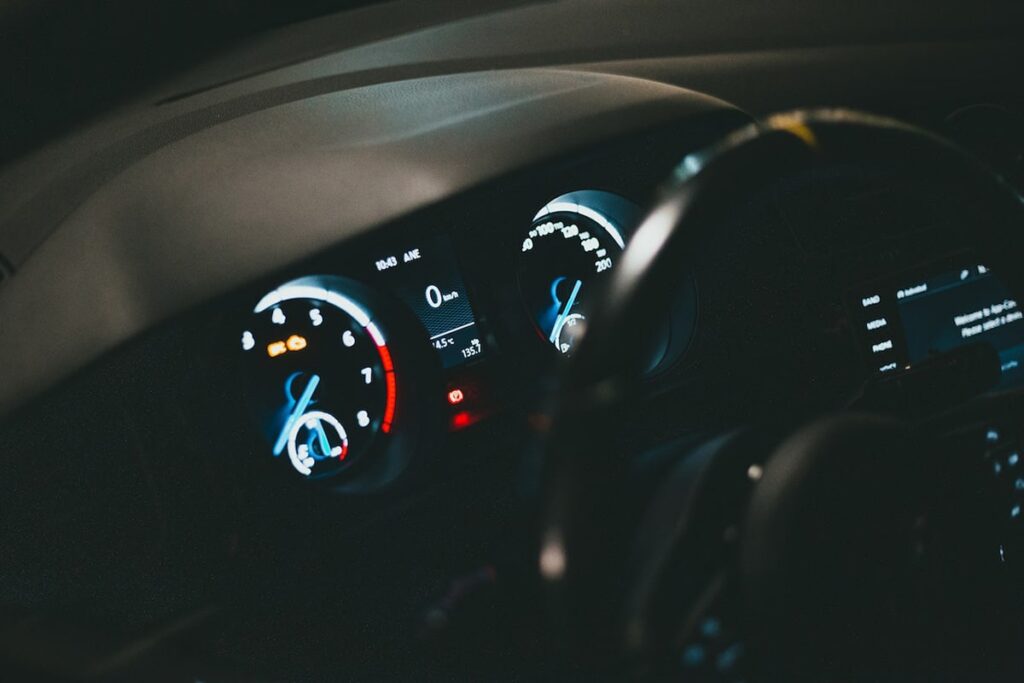
- Locate the parking brake light on your dashboard. Depending on your rig, it could display as an icon or as words like “PARK” or “BRAKE.”
- Depress the parking brake lever or pedal fully and release it.
- Repeat step #3 three to five times while ensuring the parking brake lever or pedal is fully engaged and disengaged each time.
- After completing the above steps, turn the ignition off or press the “START” button to shut down the engine.
Vehicles with Electronic Parking Brakes
The process for resetting the parking brake light in cars with electronic parking brakes slightly differs from the abovementioned steps. But while nuances in the procedure are contingent on a vehicle’s make and model, here are general guidelines you can follow if your car shares the same configuration:
- When engaging the parking brake, either pull up the switch or press the button on the dashboard, depending on your car’s electronic parking brake system design.
- In locating the parking brake light on the center console, you may want to look for the words “EPB” (Electronic Parking Brake) in addition to icons and the words mentioned in the reset process earlier.
- Holding the reset button is an extra step that should be done after locating the parking brake light. It is small and usually near the parking brake light indicator (refer to your owner’s manual for its location). Press and hold it for several seconds until the parking brake light begins to flash or fluctuate.
- Another step that can help reset the parking brake light in these vehicles is checking on the fuses. While a blown fuse is unlikely to trigger the parking brake light to stay on, it can cause other electrical components to malfunction, which may indirectly impact the parking brake system.
These guidelines aside, the remaining steps apply to both mechanical and electronic parking brakes. The key here is to engage and disengage the parking brake while observing the parking brake light for changes. Repeating this technique until the parking brake light disappears is crucial, but do not overdo it.
7. Verify the reset.
After completing the reset procedure, start your vehicle and observe the dashboard. See if the parking brake light has turned off. If it did, you have successfully reset the parking brake light, and all vehicular functions should return to normal. But if the light stays on, your car’s braking system may have an underlying issue that requires further investigation by a professional.
An unsuccessful parking brake light reset usually means the need for repair. As to which component is typically affected, it could be your parking brake switch, brake sensors, actuators, or ABS. Hopefully, the issue is not that far gone yet since it will take more than a few repetitive steps to get rid of that stuck parking brake light.
Not to mention that accessing the parking brake actuator requires fuel tank or rear subframe removal in a vehicle with a cable-pulled EPB (Electronic Parking Brake) system!
When Disconnecting the Battery Is Required


In most cases, disconnecting the battery is unnecessary when resetting a car’s parking brake light. The reset procedure typically involves a specific sequence of actions, such as engaging and disengaging the parking brake lever or pedal, turning the ignition on or off, or using a diagnostic tool to draw out codes that may be causing the handbrake to get stuck being illuminated.
However, some vehicles or specific situations may require battery disconnection during resetting. This step ensures a complete system reset and eliminates potential electrical issues.
A good example would be certain vehicles with complex electronic systems. In such a situation, briefly disconnecting the battery may help clear any stored fault codes and reset the parking brake light — much like how power cycling a glitchy mobile phone with a removable battery (view on Amazon) resolves most superficial issues.
Conclusion — Resetting Parking Brake Light
Again, note that the information in this guide is general and may vary depending on vehicle make and model and the type of parking brake mechanism.
These basic troubleshooting steps and the procedures specified in your owner’s manual should easily address uncomplicated root causes like worn brake pads or low fluid levels. Otherwise, I recommend consulting a qualified mechanic or dealership regarding a more thorough diagnosis of your parking brake light problem and any potential repairs needed.
Kris is an avid off-roader and outdoor enthusiast who loves to brave the elements and take on challenging terrain. He also enjoys sharing his passion and knowledge with others so that they, too, can appreciate the ride.
About Kris