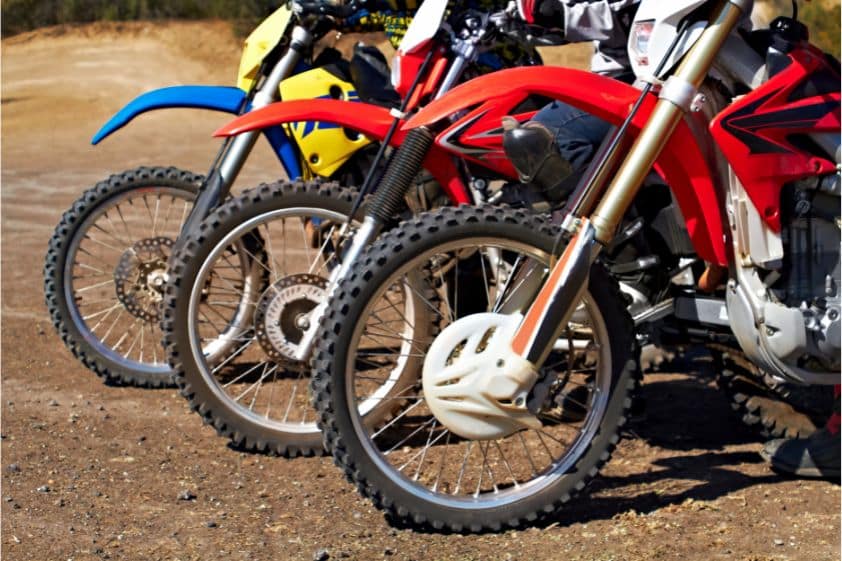
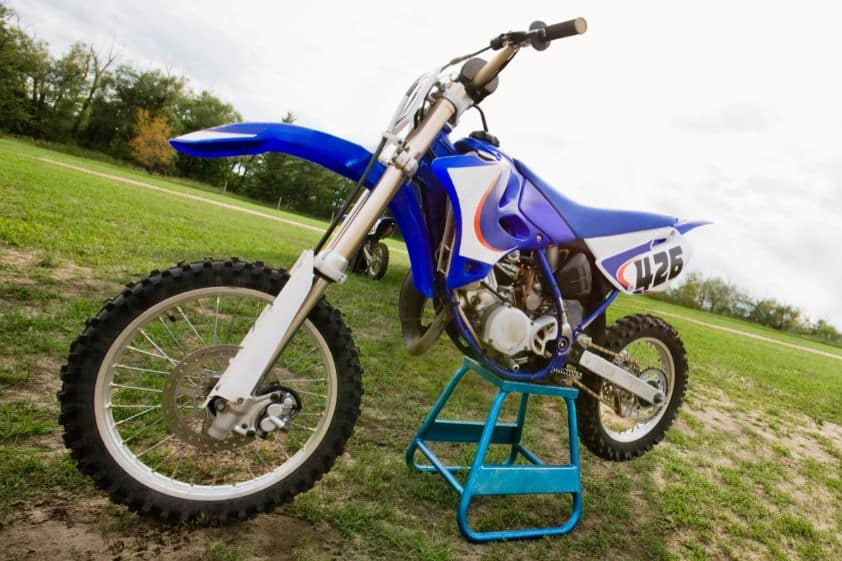
Dirt bikes are built to take a beating on off-road adventures, and their plastics often bear the brunt of abuse. Over time, these plastics can become scratched and faded, diminishing the two-wheeler’s aesthetic appeal and structural integrity. In this article, we’ll walk through the steps to make your dirt bike plastics look brand new, ensuring that your formidable ride not only performs well but also looks the part.
Making dirt bike plastics look new involves thoroughly cleaning the plastics, scraping or sanding off uneven spots and scratches, and buffing or polishing. The last stage of the process may or may not include coating the plastics with brand-new graphics or fresh paint.
As with all else in riding (and life), deterioration is inevitable — and there’s no shame in that. The good news is that with some care and effort, anyone can restore dirt bike plastics to their former luster. And with the help of this guide, so can you!

Top Reasons for Scruffy Plastics
Scruffy dirt bike plastics can be a common nuisance for riders, often prompting the desire to restore them to their pristine condition. And yes, the reasons behind the deterioration of plastic trims are numerous. The most prevalent of these reasons are listed below:
Off-Road Abuse
The rigors of off-road riding inevitably subject the bike to a barrage of dirt, mud, rocks, and debris. Over time, these elements can mar the plastics’ appearance, leaving them scratched, scuffed, and dull. Such wear and tear not only diminishes the bike’s visual charm but can also weaken the plastics’ structural integrity, rendering them vulnerable to cracks or fractures.
Sun Exposure
Exposure to the sun’s harsh UV rays can cause fading and discoloration of dirt bike plastics. It can lead to a dull, bleached appearance that leaves the bike looking tired and aged.
Impacts & Collisions
While tackling challenging terrain, dirt bikes may encounter impacts and collisions with various obstacles. These incidents can lead to more severe damage to the plastics, such as cracks, fractures, or even complete breakage. These structural issues not only spoil the aesthetics but also compromise the bike’s performance and safety.
Spills & Stains
Chemicals, oils, and fuels commonly used in maintenance and repairs can accidentally spill or drip onto the plastics, causing unsightly stains. These stains not only create a visually deteriorated look but can also be challenging to remove, especially if left unattended. They eventually become ingrained, further contributing to the plastics’ degraded appearance.
Neglectful or Harsh Cleaning Practices
While cleaning is essential, using inappropriate cleaning products or rough cleaning methods can damage the plastics. Abrasive cleaners or harsh scrubbing can result in scratches and a worn-out appearance. Similarly, neglecting proper cleaning routines can allow dirt, grime, and mud to accumulate over time, leading to a progressively scruffy appearance.
Improper Storage
Storing a dirt bike improperly, especially outdoors and exposed to the elements, can contribute to the deterioration of plastics. Rain, snow, and temperature fluctuations can accelerate the aging process, causing the plastics to lose their original luster and resilience.
Aging and Wear
Like other materials, dirt bike plastics naturally deteriorate over time due to age and wear. Continuous exposure to environmental factors and stress from riding takes a toll on the plastics, causing them to lose their shine and develop surface imperfections.
These factors combined contribute to the unappealing state of dirt bike plastics, compelling riders to task themselves with rejuvenating them and restoring their bike’s overall look and performance — bringing us to the gist of today’s guide.
How to Make Dirt Bike Plastics Look New

If we were to sum up this process, it would consist of four main parts — washing, scraping, sanding, and buffing or polishing (sans body painting). In detail, however, making dirt bike plastics look new may not be as simple as it sounds. Depending on the kind of plastic trims and severity of cosmetic damage your dirt bike has, either some of these phases may be skipped, or additional steps may be warranted.
With this in mind, here are general guidelines on how to bring back your dirt bike plastics to their former glory — from a DIY perspective:
Must-Haves:
- Liquid dish soap
- Buckets of warm water
- Sponge
- Soft cloths (microfiber or chamois)
- Sandpaper in a variety of grits (from 220 to 1,000)
- Utility blade or blade holder
- High-speed power drill
- 4″ (10 cm) buffing wheel
- Plastic polishing compound
- Eye protection
Optional:
- Baking soda (or vinegar)
- An old toothbrush
- Citrus cleaner
Phase 1: Cleaning the Plastic
Before giving your dirt bike plastics a bath, take off fixtures and fittings. After which, create a cleaning solution by mixing dish soap and water in a clean bucket. Dip a sponge or soft cloth in it and use circular motions to clean the plastic surfaces. Rinse the plastic thoroughly with clean water to remove the soap.
- For old stickers, remove them by soaking them in warm, soapy water for about 10—15 minutes to soften the glue or adhesive. Doing this should make it easier to peel off the stickers without leaving behind too much residue. If the stickers are particularly stubborn, soak them for a bit longer or use a plastic scraper to remove them gently.
- To tackle stubborn stains or grease, use baking soda as an abrasive agent to eliminate them. Scrub in circular movements until the stain is effectively removed. If you prefer using vinegar, you can combine it with baking soda to combat stains.
Phase 2: Scraping off Scratches (Optional)
Once your dirt bike plastics are clean, scratches should become prominently visible. You can use a Stanley Blade or something similar to even them out, especially if your plastic trims have deep scratches. Use the blade with caution to avoid new scratches. Some bike owners use a heat gun to remove scratches — although this isn’t highly advised.
Phase 3: Beginning Wet and Dry Sanding
Assuming you’re done using a utility blade or a sheathed blade holder to scrape the top layer of old plastic to eliminate scratches, proceed with smoothening the dirt bike plastics further by rubbing moistened 220-grit sandpaper over it, followed by 320-grit sandpaper.
After the initial sanding, gradually move to finer-grit sandpapers to refine the surface. You can progress to 400, 600, or even 800-grit sandpaper for a smoother finish. The maximum grit used for refining the plastics would generally be 800 to 1,000-grit sandpaper to achieve a polished and smooth surface before painting or coating (view on Amazon).
In addition to keeping the sandpaper moistened to avoid overheating, it’s generally advised to rinse dirt bike plastics between sandings to ensure that no grit from the previous grade sticks to the surface. Also, wipe the plastic dry with a soft, clean cloth (preferably microfiber or chamois) to remove debris.
Phase 4: Buffing or Polishing the Plastics
After eliminating all scratches with sandpaper, finish polishing using a drill attachment or buffer, keeping the pad moving to prevent the plastic from melting.
Attach a new 4″ buffing wheel to a BOSCH GSR18V-975CB25 18V Brushless Connected-Ready 1/2″ Drill (view on Amazon) or similar high-powered drill. Hold the buffing wheel at an angle against the plastic and move it back and forth to polish the plastic. Wear eye protection and avoid prolonged contact in one spot to prevent overheating. After buffing, inspect the plastic for dull areas you might have missed. For extra shine and protection, dip the buffing wheel in plastic polishing compound and buff it onto the polished plastic.
Different Types of Body Paints and Coats

There are at least eight different types of body paints and coatings that can help rejuvenate and restore the look of your dirt bike plastics. Each one serves a specific purpose and requires different coating processes, as explained below:
Spray Paint
Acrylic Spray Paint: This is a versatile option for touching up minor scratches and blemishes. Clean the plastic surface and sand if needed, and apply several thin coats of acrylic spray paint. Allow proper drying time between coats for a smooth finish.
Allow each coat to dry for 10—20 minutes before applying the next one. However, the proper drying time between coats can vary depending on temperature, humidity, and the paint product used.
Vinyl Wraps
Vinyl Wrap Film: Vinyl wraps are adhesive films that come in various colors and patterns. They require meticulous surface preparation, ensuring no imperfections or air bubbles. The film is applied and carefully smoothed out to create a seamless, protective layer.
To prepare the surface, clean the plastic thoroughly to eliminate dirt, grease, and contaminants. Ensure the plastics are completely dry and moisture-free for strong adhesive bonding. Lastly, inspect for any imperfections like scratches or dents and address them as required to ensure a smooth and flawless application of the vinyl wrap.
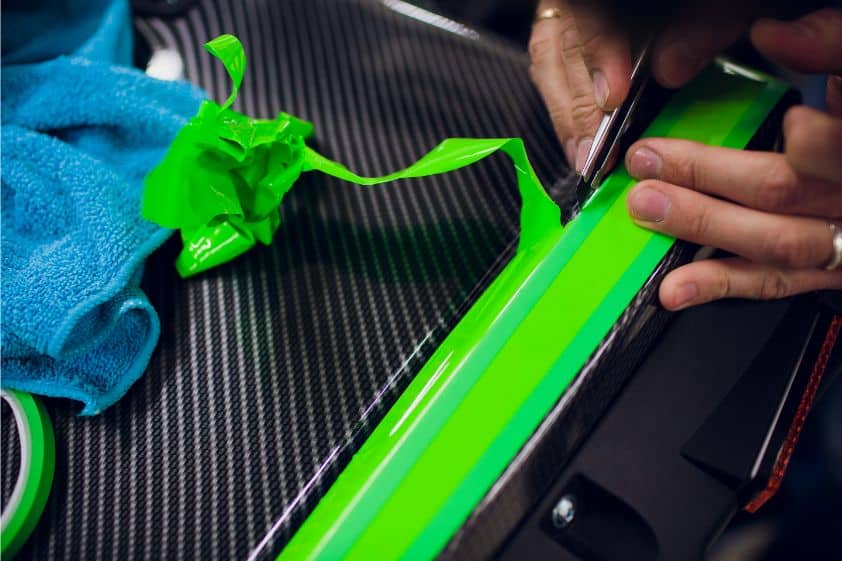
Custom Graphics
Graphics Kits: These are pre-designed graphic decals that can be applied to your dirt bike plastics. They come in various themes and styles. Clean the plastic surface, align the graphics, and carefully apply them with a squeegee.
Clear Coat Protection
Clear Coat Spray: Applying a clear coat over painted or unpainted plastic surfaces provides added protection and gloss. After your chosen paint or coating has dried, apply clear coat spray in thin layers for a glossy, protective finish.
You typically need to apply at least 2—3 coats of clear coat spray over the painted or unpainted surface. However, the exact number of coats may vary depending on the product instructions and your desired level of gloss and protection.
Plasti Dip
Rubberized Coating: Plasti Dip is a flexible and protective rubberized coating that can be sprayed or brushed onto the plastic parts. It produces a durable finish and can be easily peeled off if you want to change the color later. Clean the surface, apply Plasti Dip in even coats, and let it dry for at least 30 minutes to an hour between applications.
Professional Painting
Automotive Paint: For a high-quality and durable finish, you can have your dirt bike plastics professionally painted. This process involves sanding the plastics to create a smooth surface, applying a primer, and spraying with automotive paint. Professional outfitters and powersports dealers typically offer this service, as it requires expertise to achieve a flawless look. Plus, they have all the tools and equipment needed for the job.
Hydro-Dipping
Hydrographics Printing: This method involves immersing the plastic in a water tank with a printed film on the surface. The ink adheres to the plastic when submerged, creating a unique and intricate design. Afterward, a clear coat is applied for protection.
Powder Coating
Thermosetting Powder Coating: Powder coating is typically used on metal parts since it requires a curing process involving temperatures of around 350°F to 400°F (177°C to 204°C). However, it can also be applied to certain heat-resistant plastic components. In this process, electrostatically charged powder is sprayed onto the dirt bike plastic and baked to create a durable and smooth finish.
The choice of body paint or coating will depend on your preferences, budget, severity of cosmetic damage, and the level of customization you desire. It’s essential to follow the coating process, and preparation instructions specific to the type of paint or coating you choose to ensure the best results.
Whether you prefer a DIY approach or seek professional help, these methods can help make your dirt bike plastics look new and protected.
Conclusion — How to Make Dirt Bike Plastics Look New
Your dirt bike plastics may have weathered numerous off-road adventures, but with the right techniques, you can breathe new life into them. Following the tips in this guide, you’ll not only enhance your bike’s aesthetics but also extend the life of its structural components. So, gear up, make your dirt bike plastics look new, and get ready to hit the trails with style and confidence!
Kris is an avid off-roader and outdoor enthusiast who loves to brave the elements and take on challenging terrain. He also enjoys sharing his passion and knowledge with others so that they, too, can appreciate the ride.
About Kris